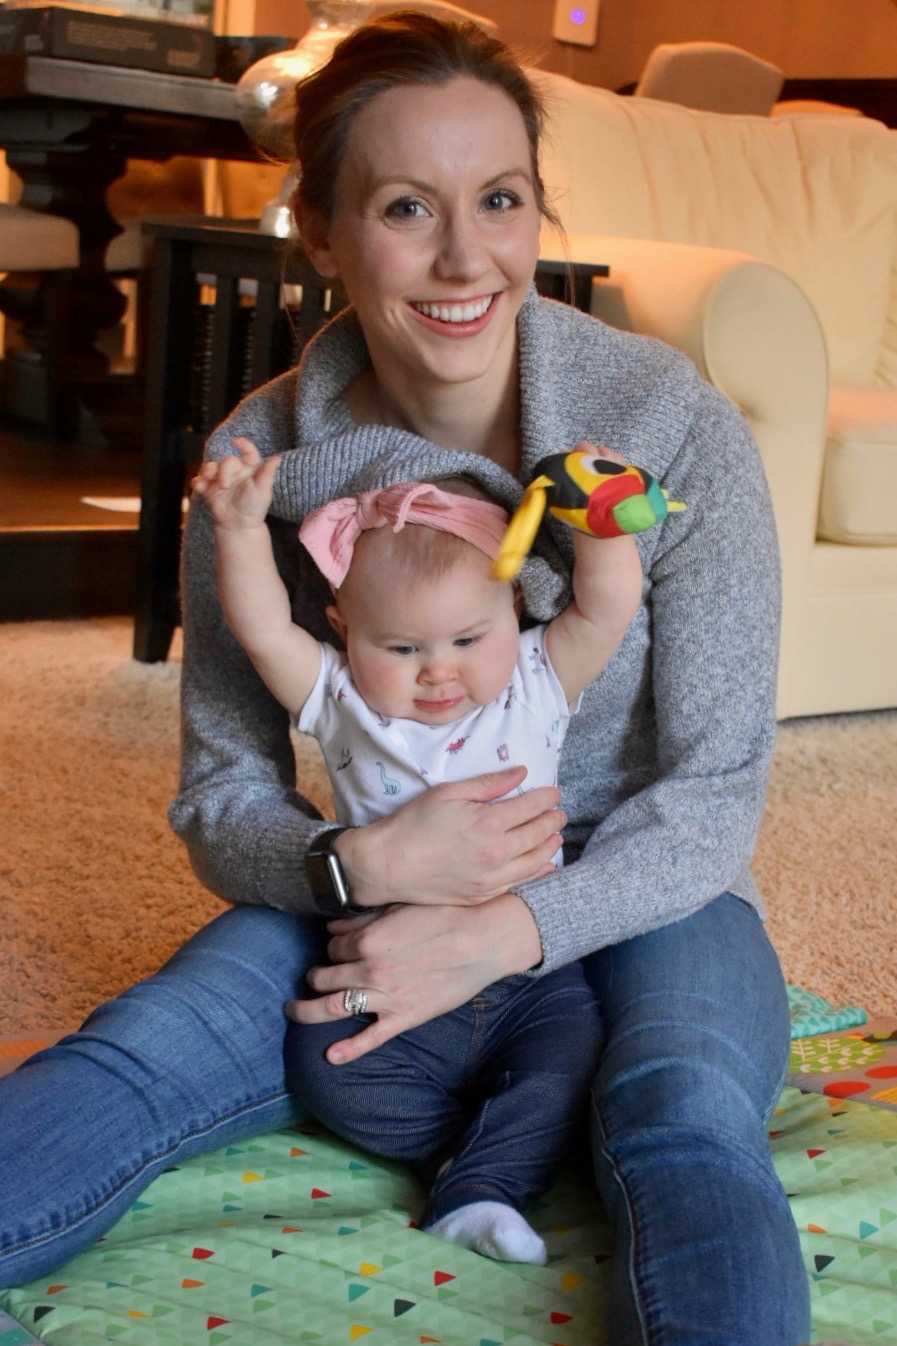
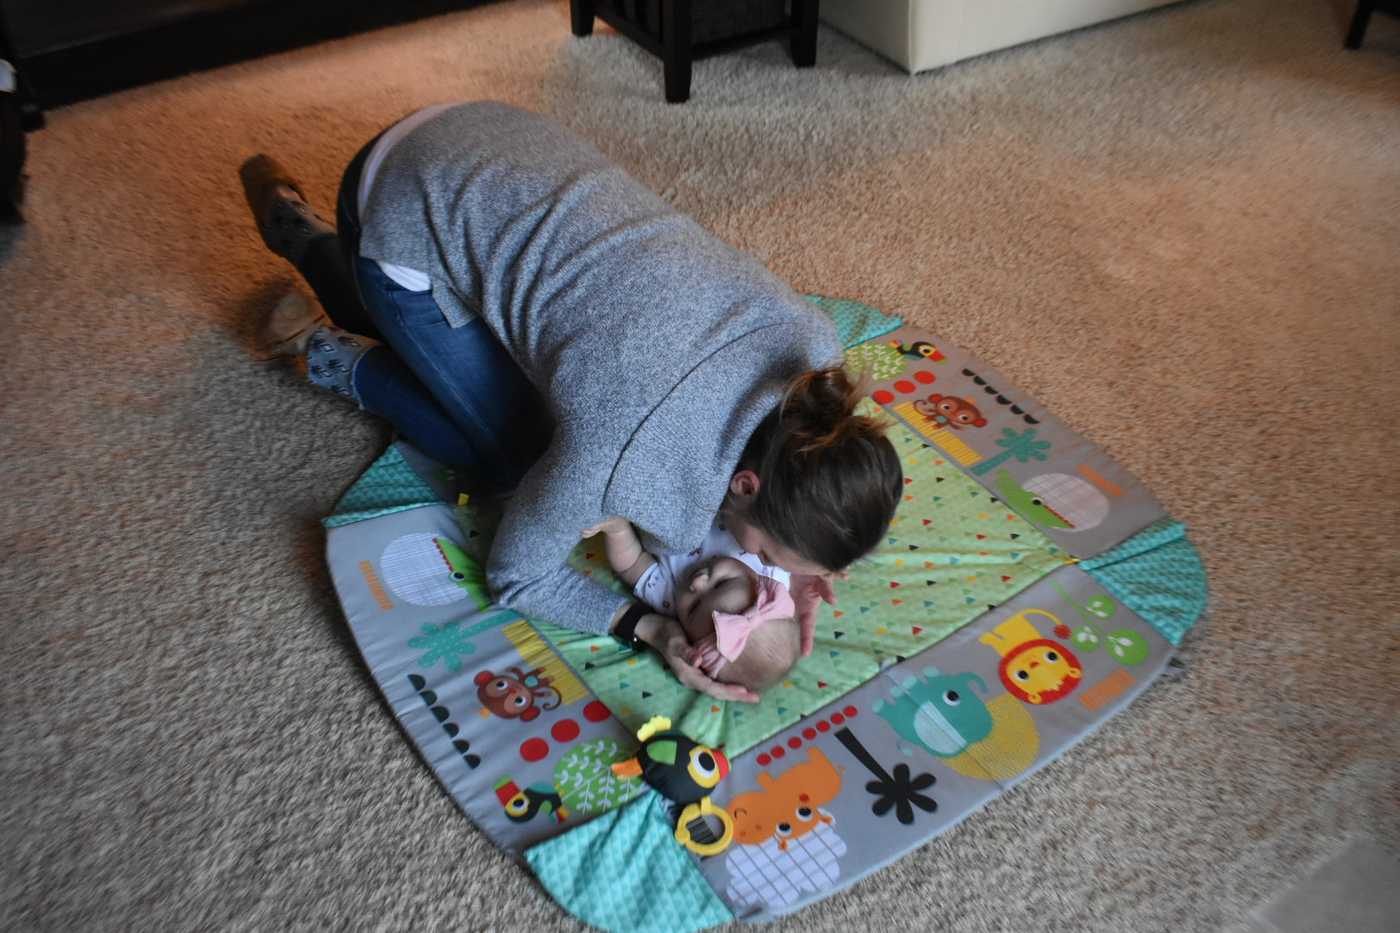
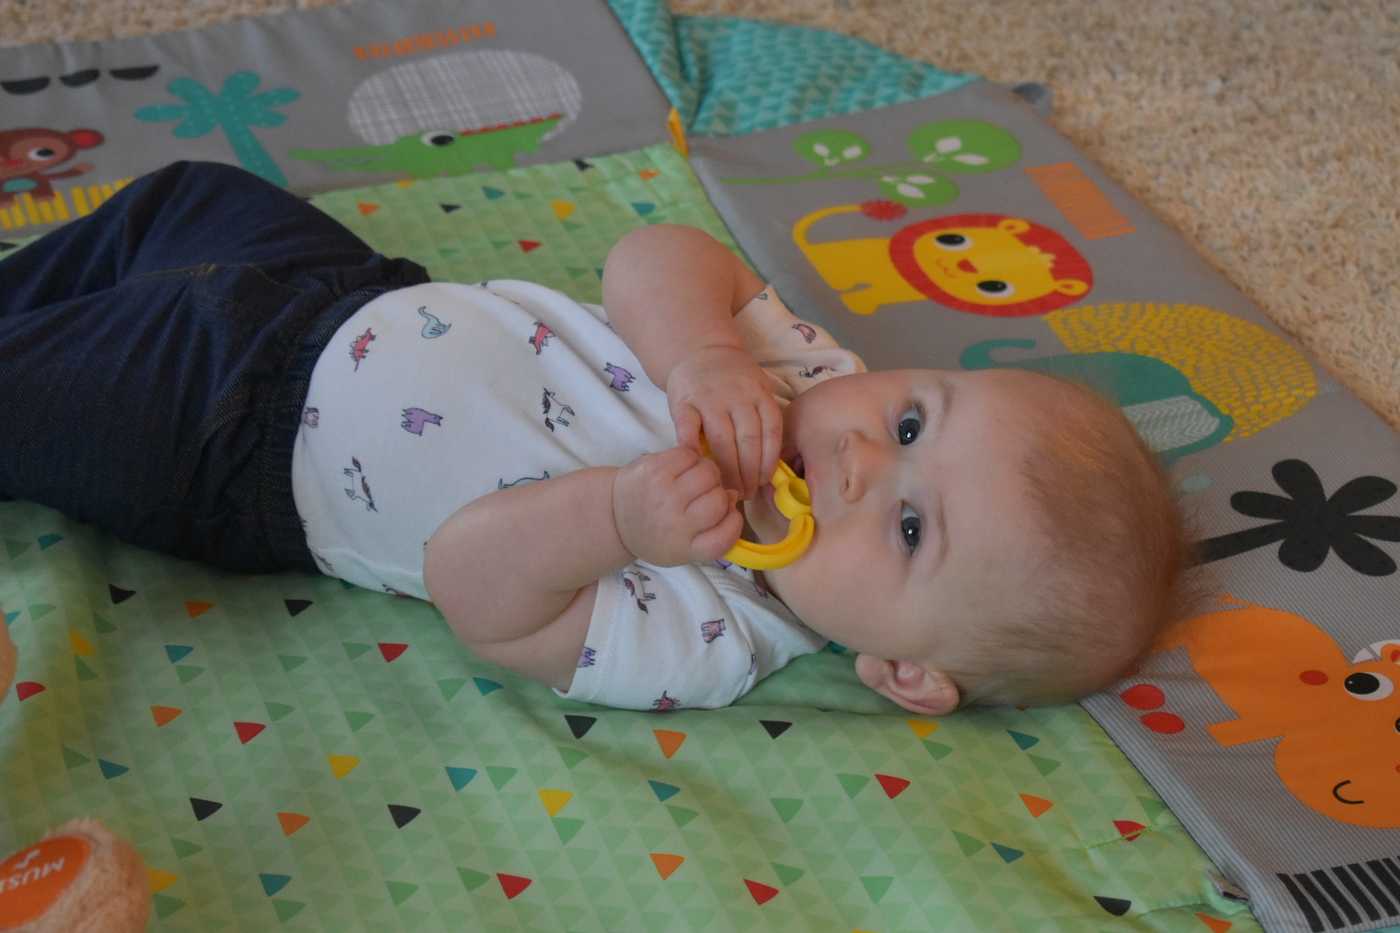
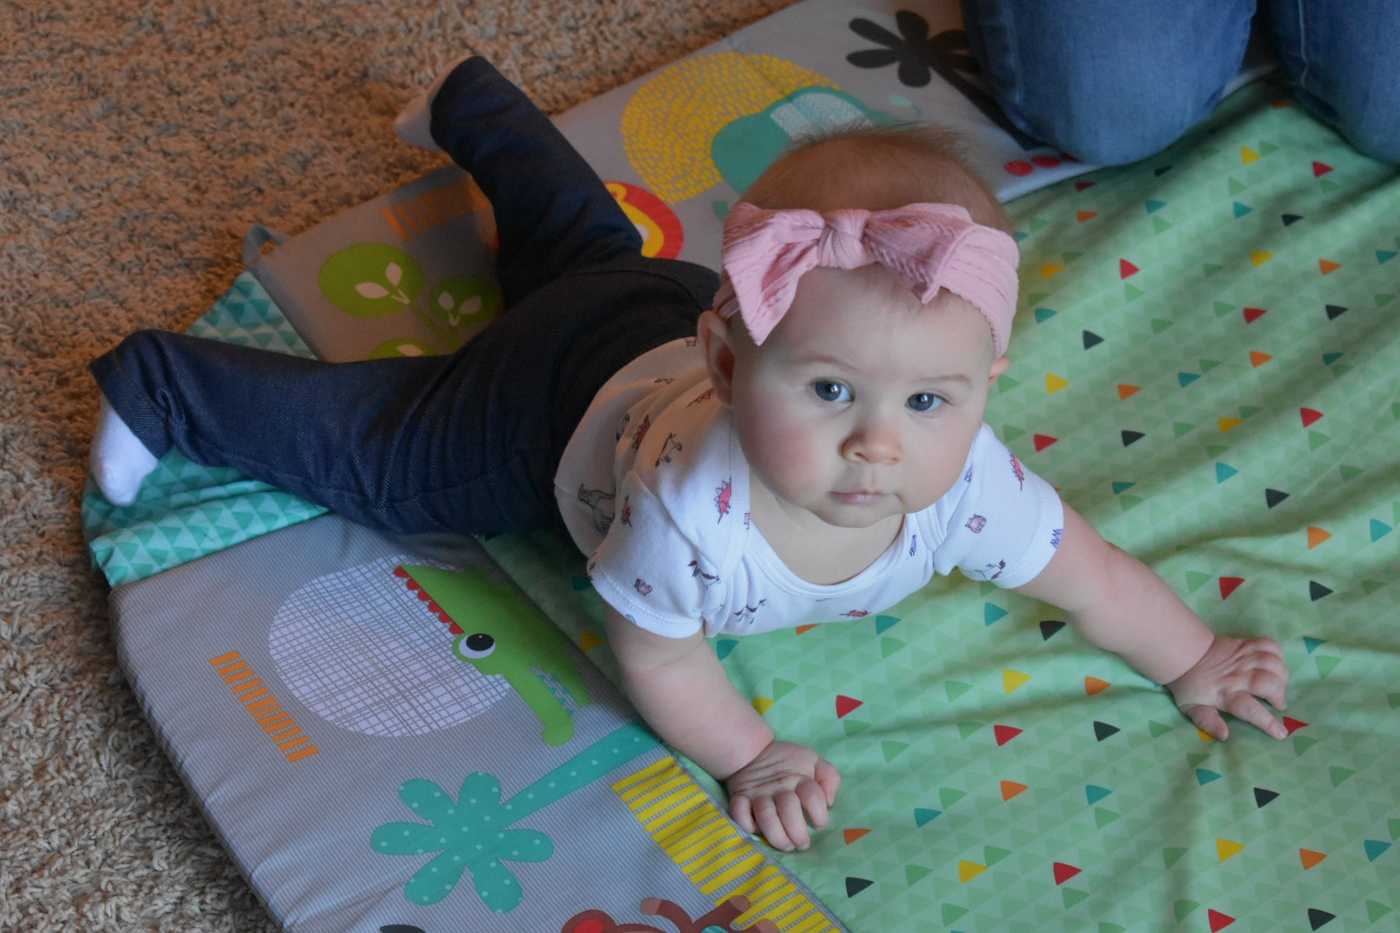
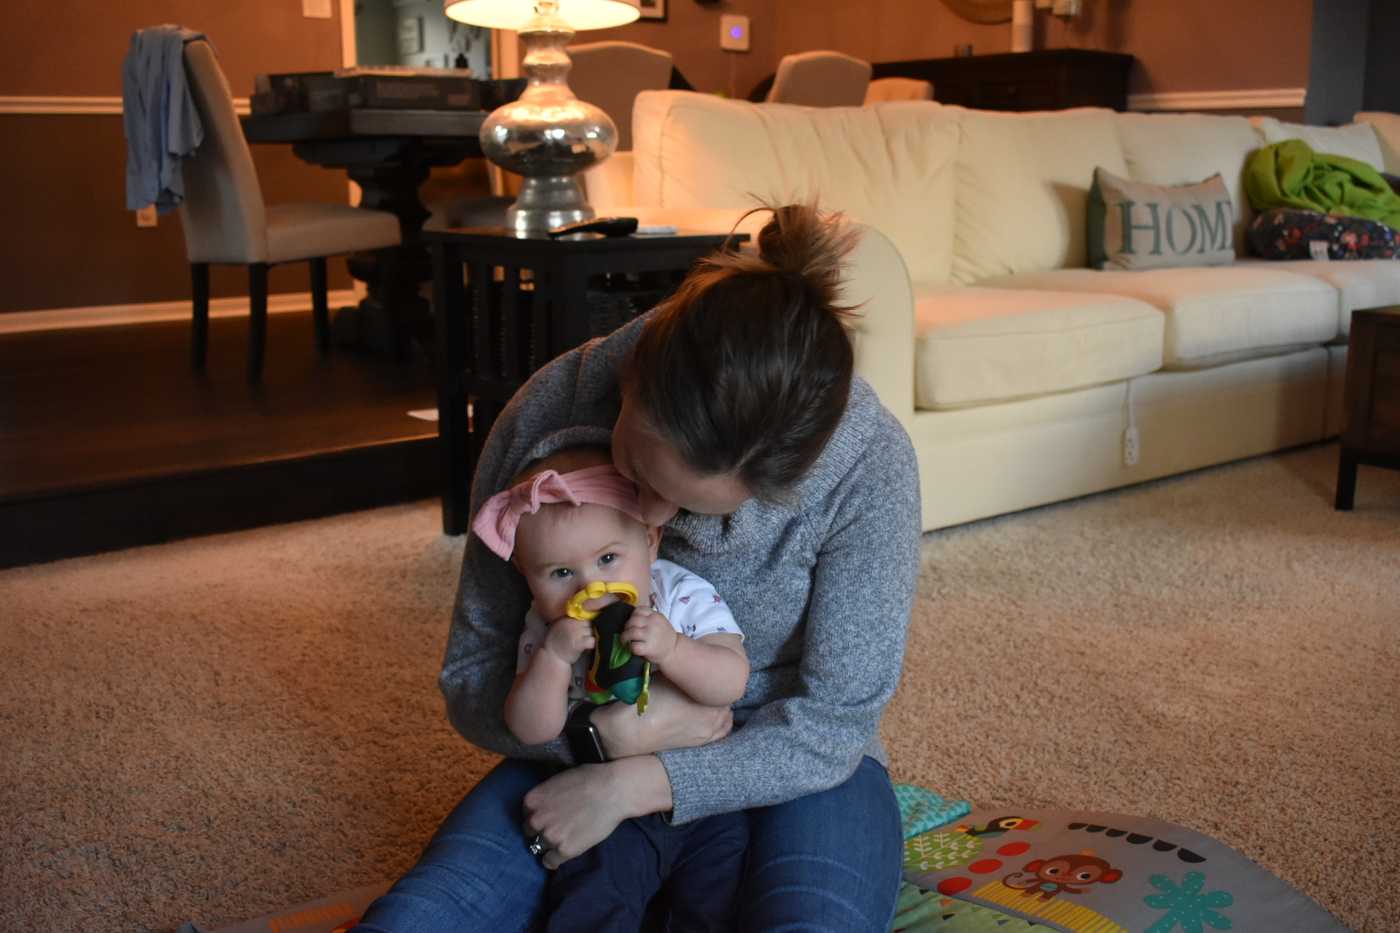
Starting as early as 3 months, babies may start showing signs of being ready to roll. Riley started showing signs around three months though it took her until 7 months to really master rolling. Riley would grab her feet and roll to her side when she was on her back at three months. She also showed great trunk strength, head and neck control, and arm strength when on her tummy. We would practice rolling daily. I had heard that rolling tummy to back was usually the easiest and most common way that babies would begin to roll, but we still practiced rolling both ways, front to back and back to front. I would assist Riley in rolling through the day to get to various toys or to show her how she could put an end to tummy time if she wanted too. When she was on her tummy, I would try to get and maintain her focus by holding toys up in front of her and then above her head allowing her to lead with her head as she followed the toy over. When she was on her back I would wait for her to roll to her side and then help her roll the rest of the way over on to her tummy. Though these tricks helped Riley get the idea and feel for rolling they weren’t successful in helping her really learn to roll on her own.
I researched other techniques to try to assist Riley in rolling more consistently. I came across a very helpful resource at TEIS Early Intervention. They have great resources on their website for various activities to do with your child(ren) from birth to three years old. I tried their rolling activities for Riley and within a week, Riley became a rolling expert.
##Front to back rolling:##
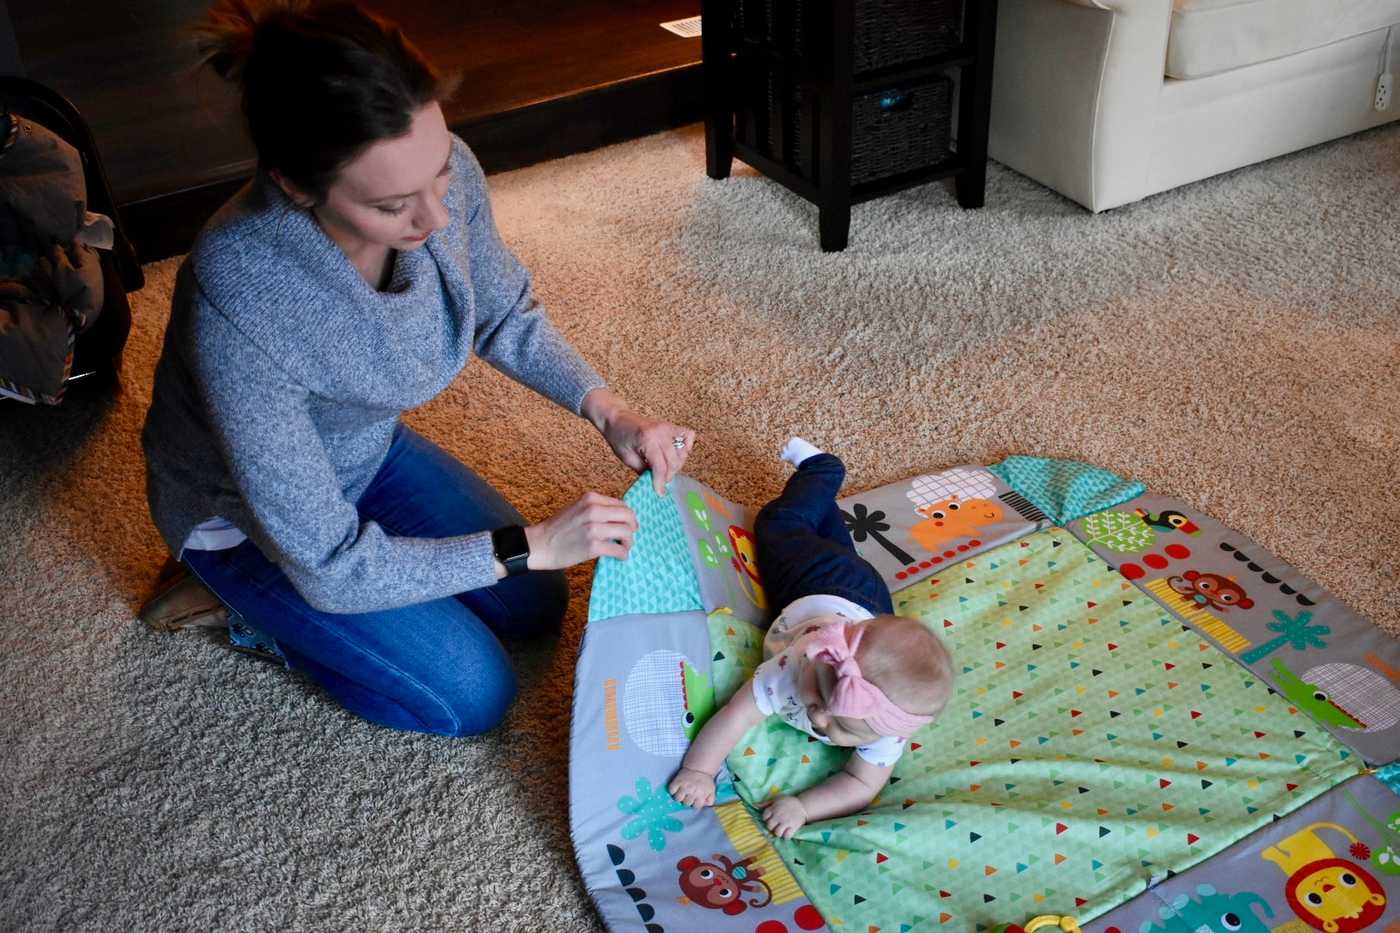
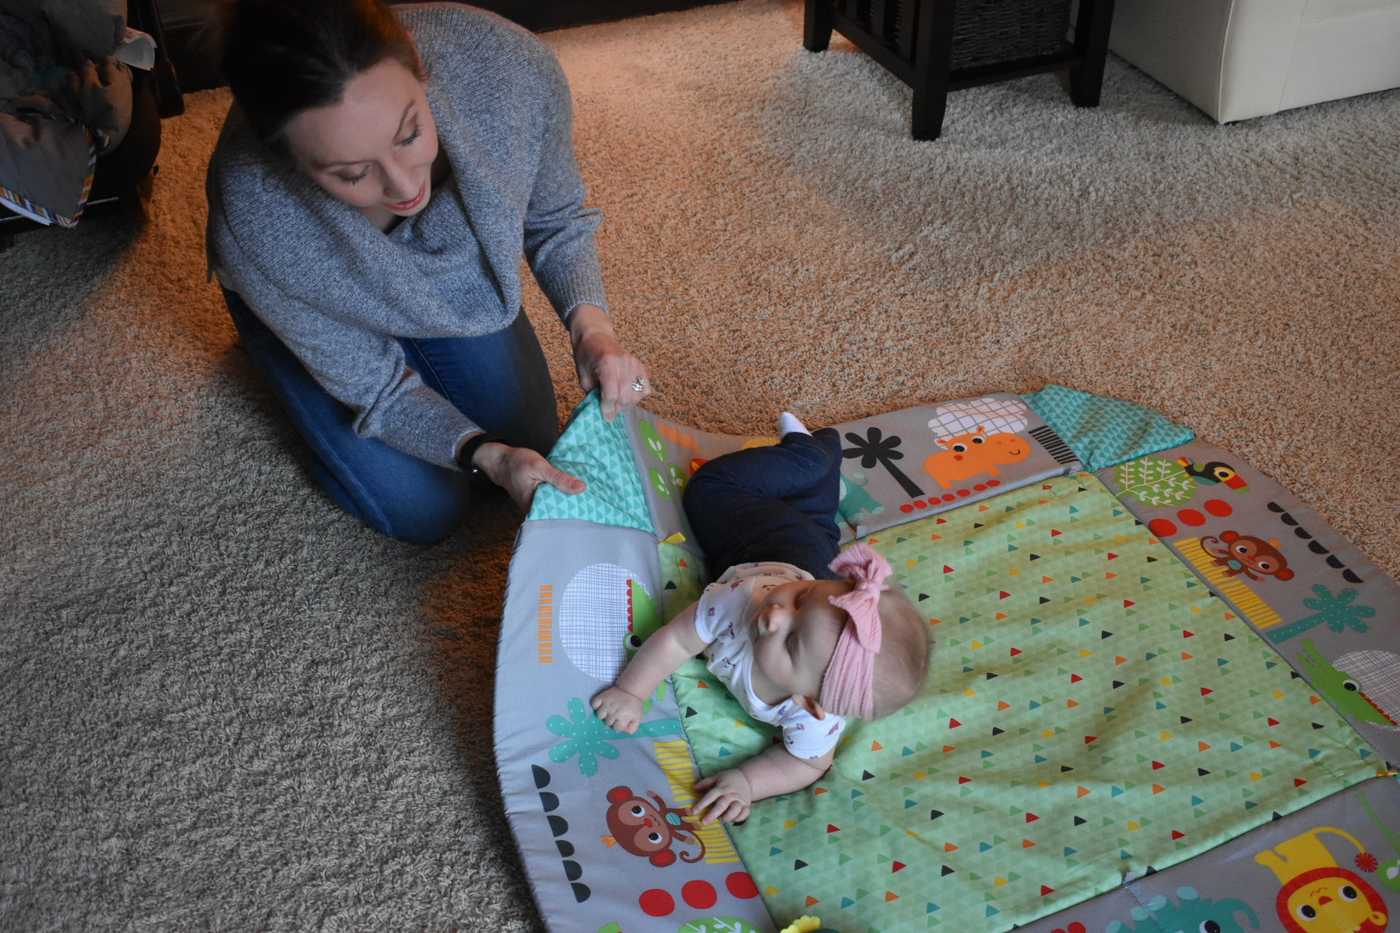
Place your baby on a blanket on the floor tummy down. Entice them with toys, but place the toys on one side of them out of reach. If your child is like Riley and doesn’t attempt to roll to get the toys, then slowly lift the end of the blanket to encourage your baby to roll.
I would lift the blanket just high enough so that Riley had no other choice but to roll over to her back. However, I wouldn’t lift the blanket all the way so that the blanket did all the work. I wanted Riley to still have to put some effort into the roll.
I would then reward Riley with plenty of praise, kisses, hugs, and playtime with the toy she rolled to reach.
Back to front rolling:
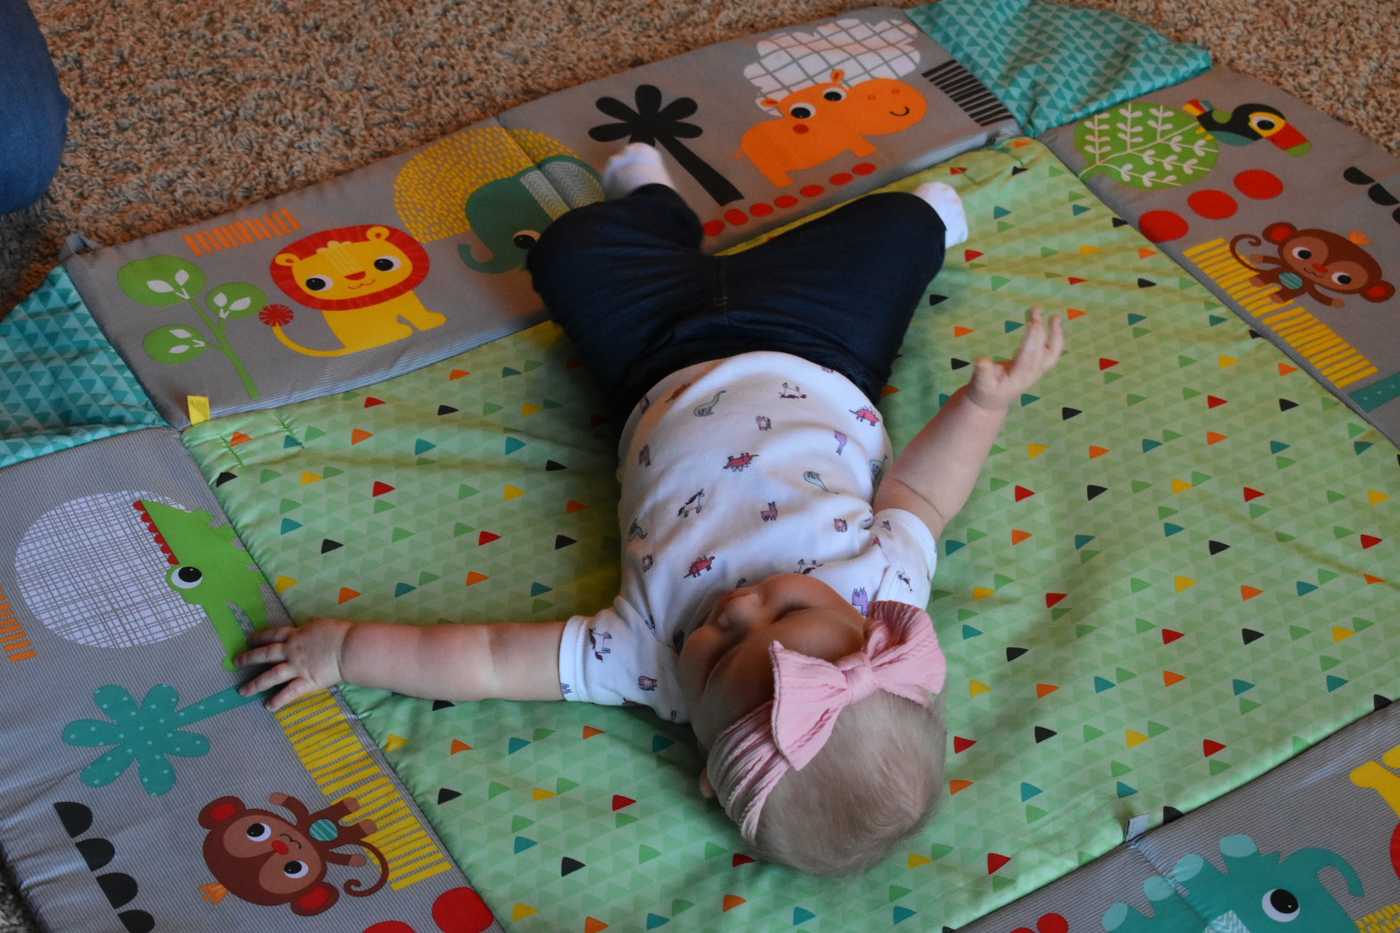
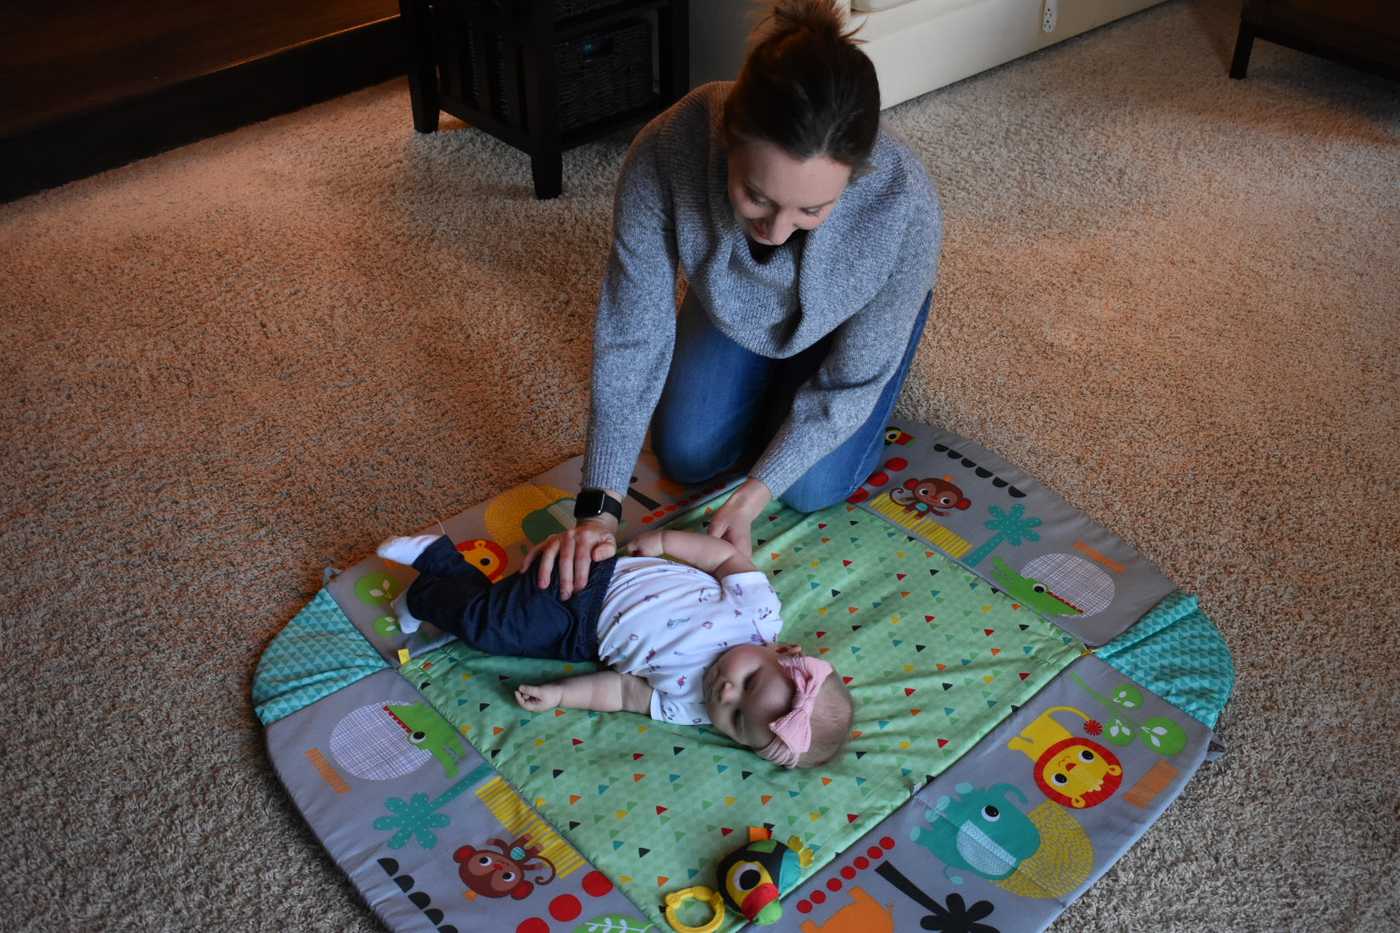
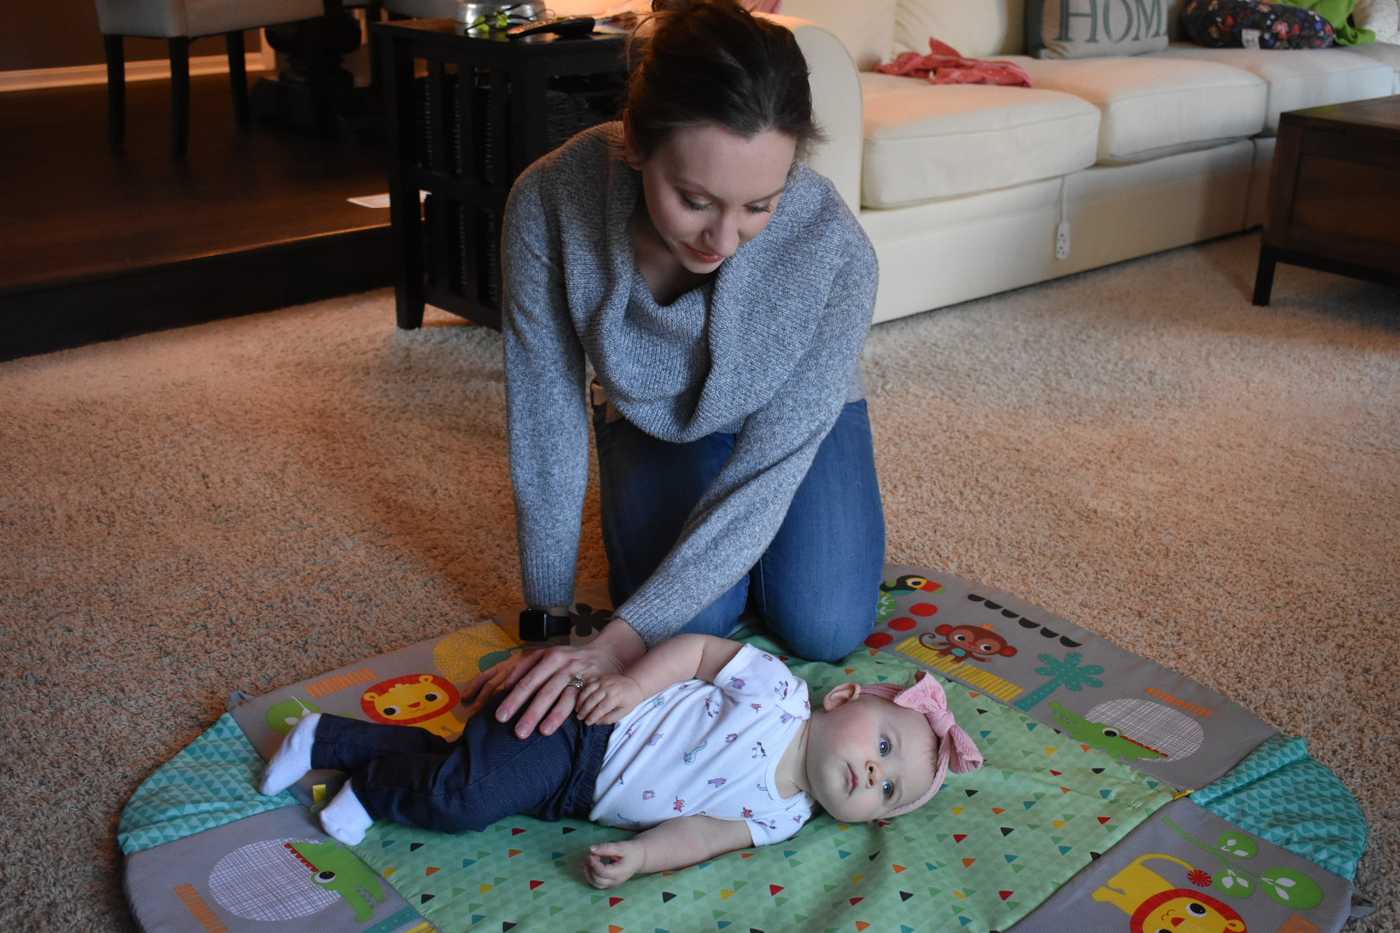
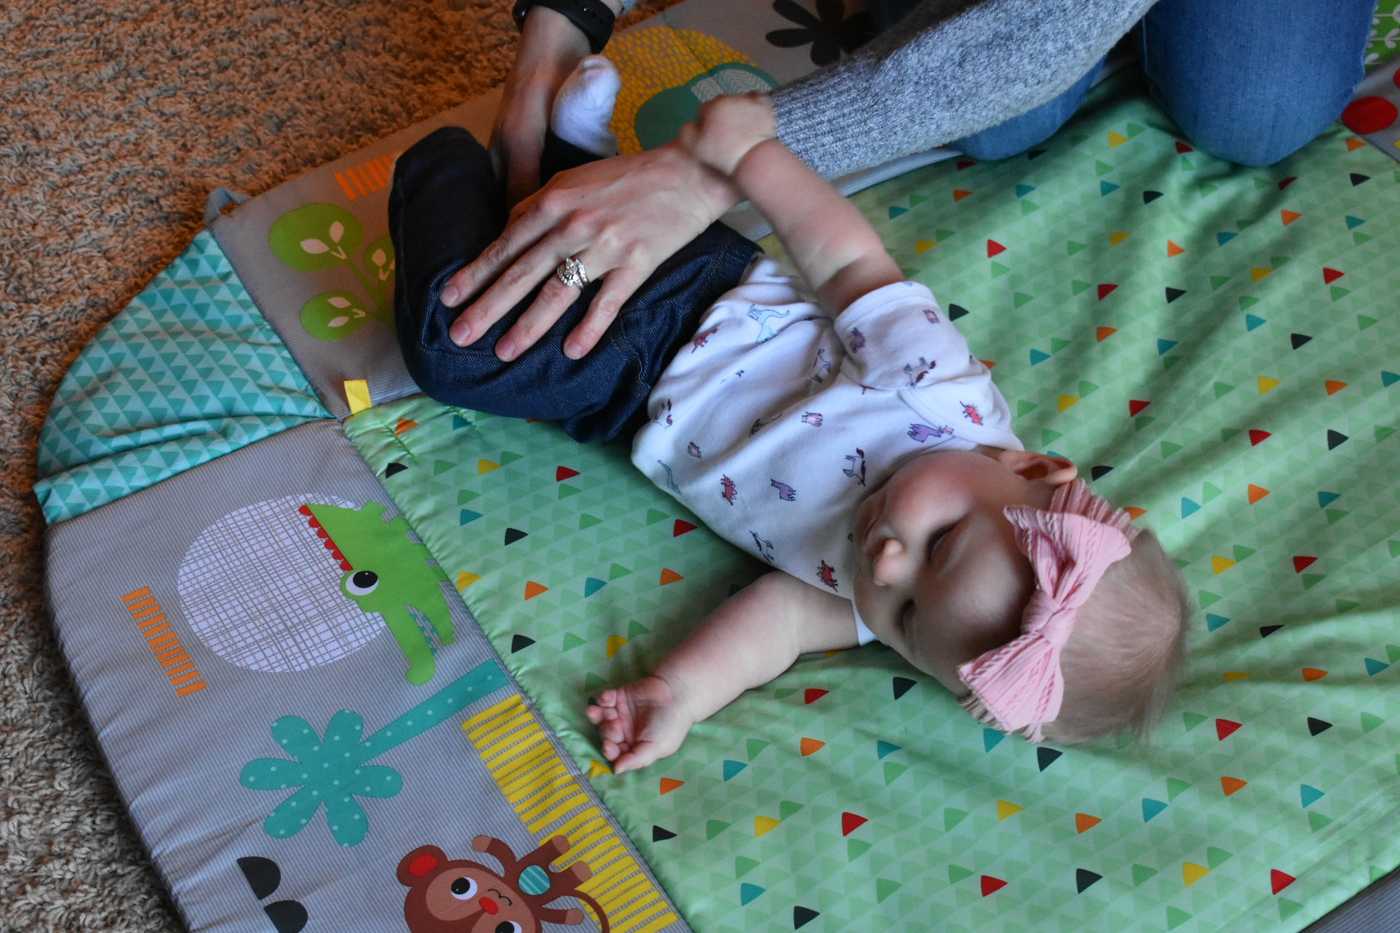
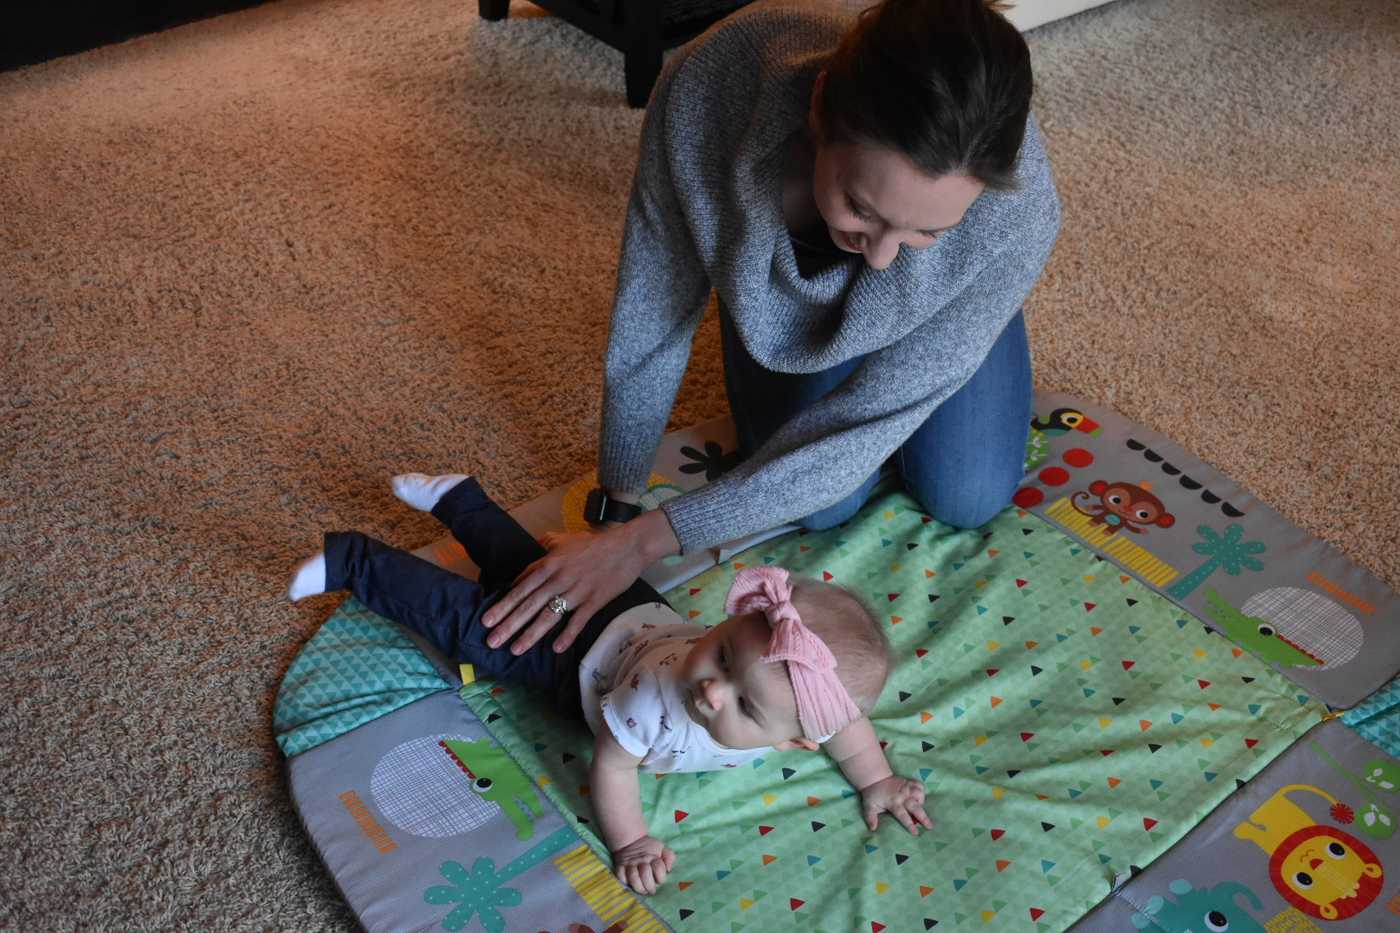
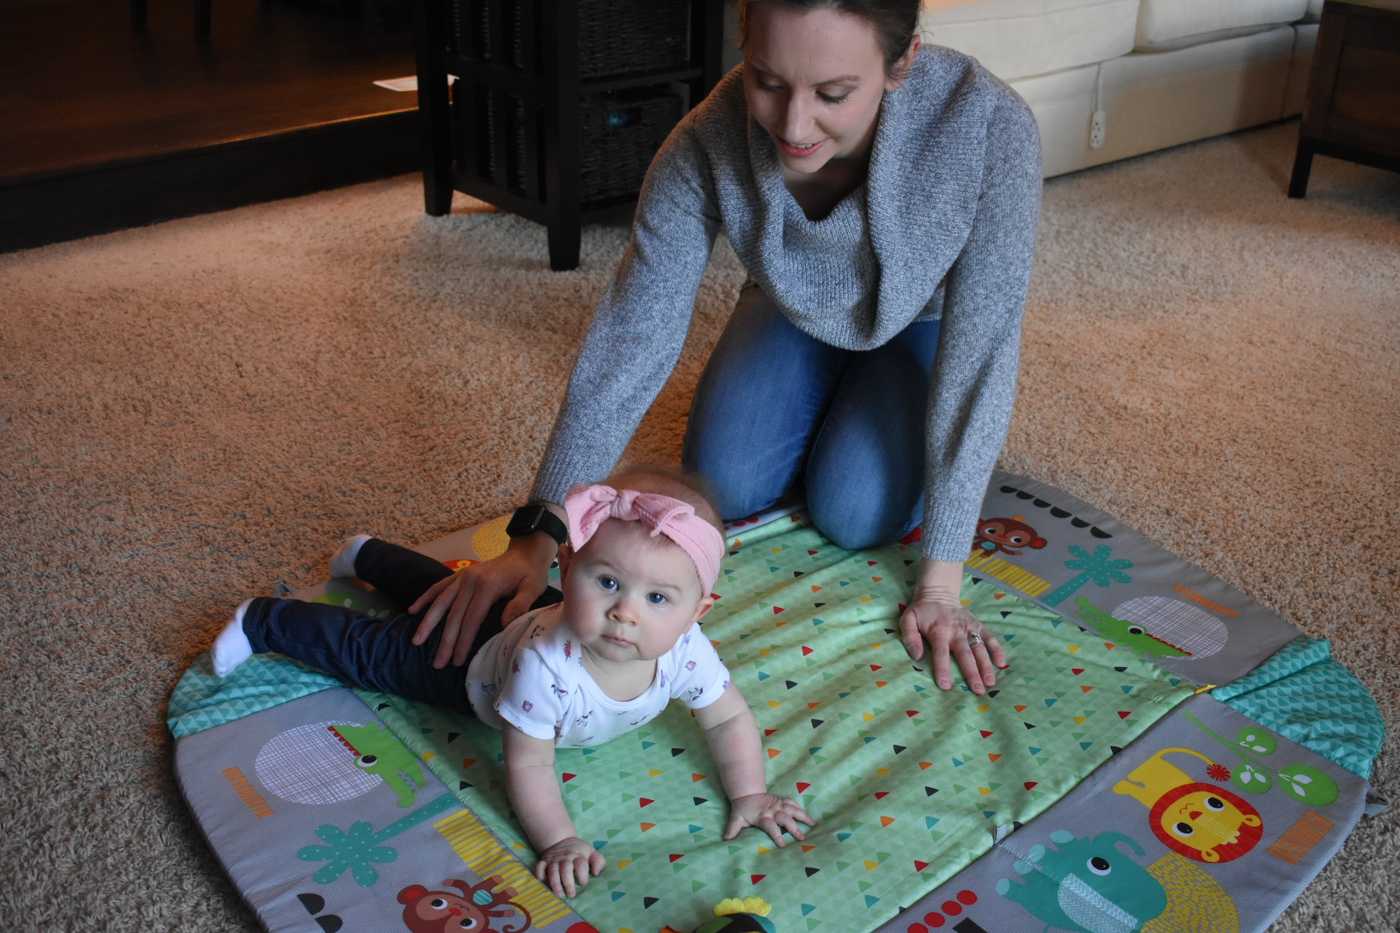
Now that your baby is on their back, it is time to roll back on to their tummy so they can continue practicing rolling. It’s a cycle that just keeps going. Your baby is on their back and you have toys on one side of their body just out of reach. Make sure you choice their favorite toys so that they will want to work for them and make sure to draw their attention to these toys. Place one hand on the hip of the opposite of the toys and guide that leg and hip across their body towards the toy or the direction they will be rolling in.
Gently hold that hip across their body allowing time for your baby to finish the movement and bring their upper body along. If they don’t bring their upper body along, then continue to gently guide the hip in the direction of the toy so that their lower body is rolled over. Their upper body will follow.
If you need to help bring their hand over across their body to reach for their toy, then do that as well.
Now that your child has rolled both front to back and back to front, keep practicing rolling back and forth. It can take time and multiple experiences rolling, before your child can put the movement together on their own consistently. Keep the experiences positive with lots of praise, cuddles, and love. Be sure to roll to both sides. Your baby should be able to roll to the right and the left so make sure you practice rolling them to the right and to the left! Happy rolling!
