Did you ever have gelatin jigglers as a child? I remember when I was little my mom would make them as a special birthday treat. I loved playing with them and watching as they wiggled and jiggled. They were squishy and slippery and it was quite the experience. Before I introduced Riley to gelatin jigglers, I wanted her to first experience a gelatin tray.
Riley's experience
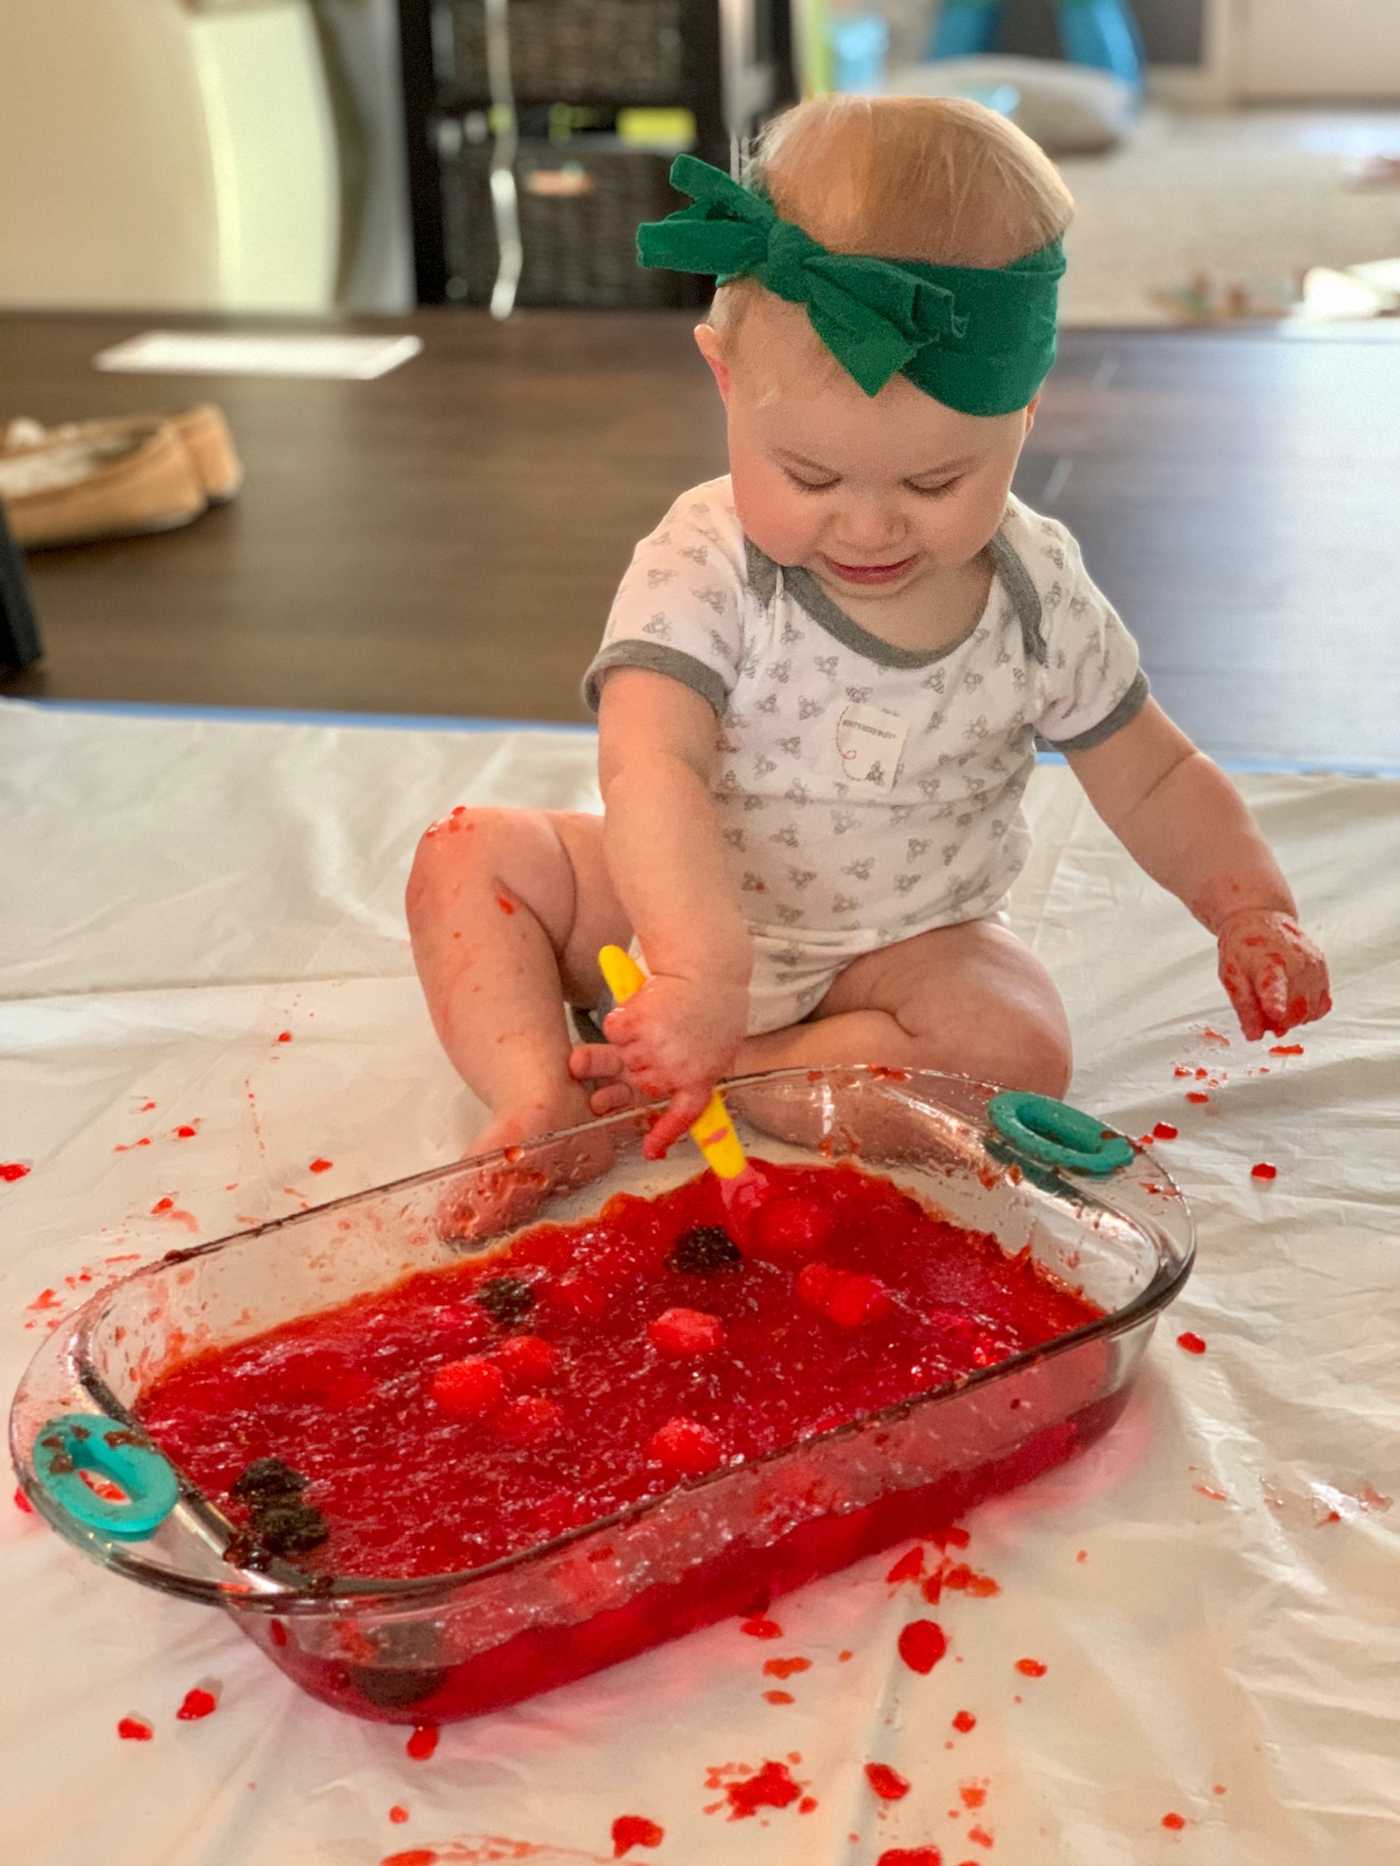
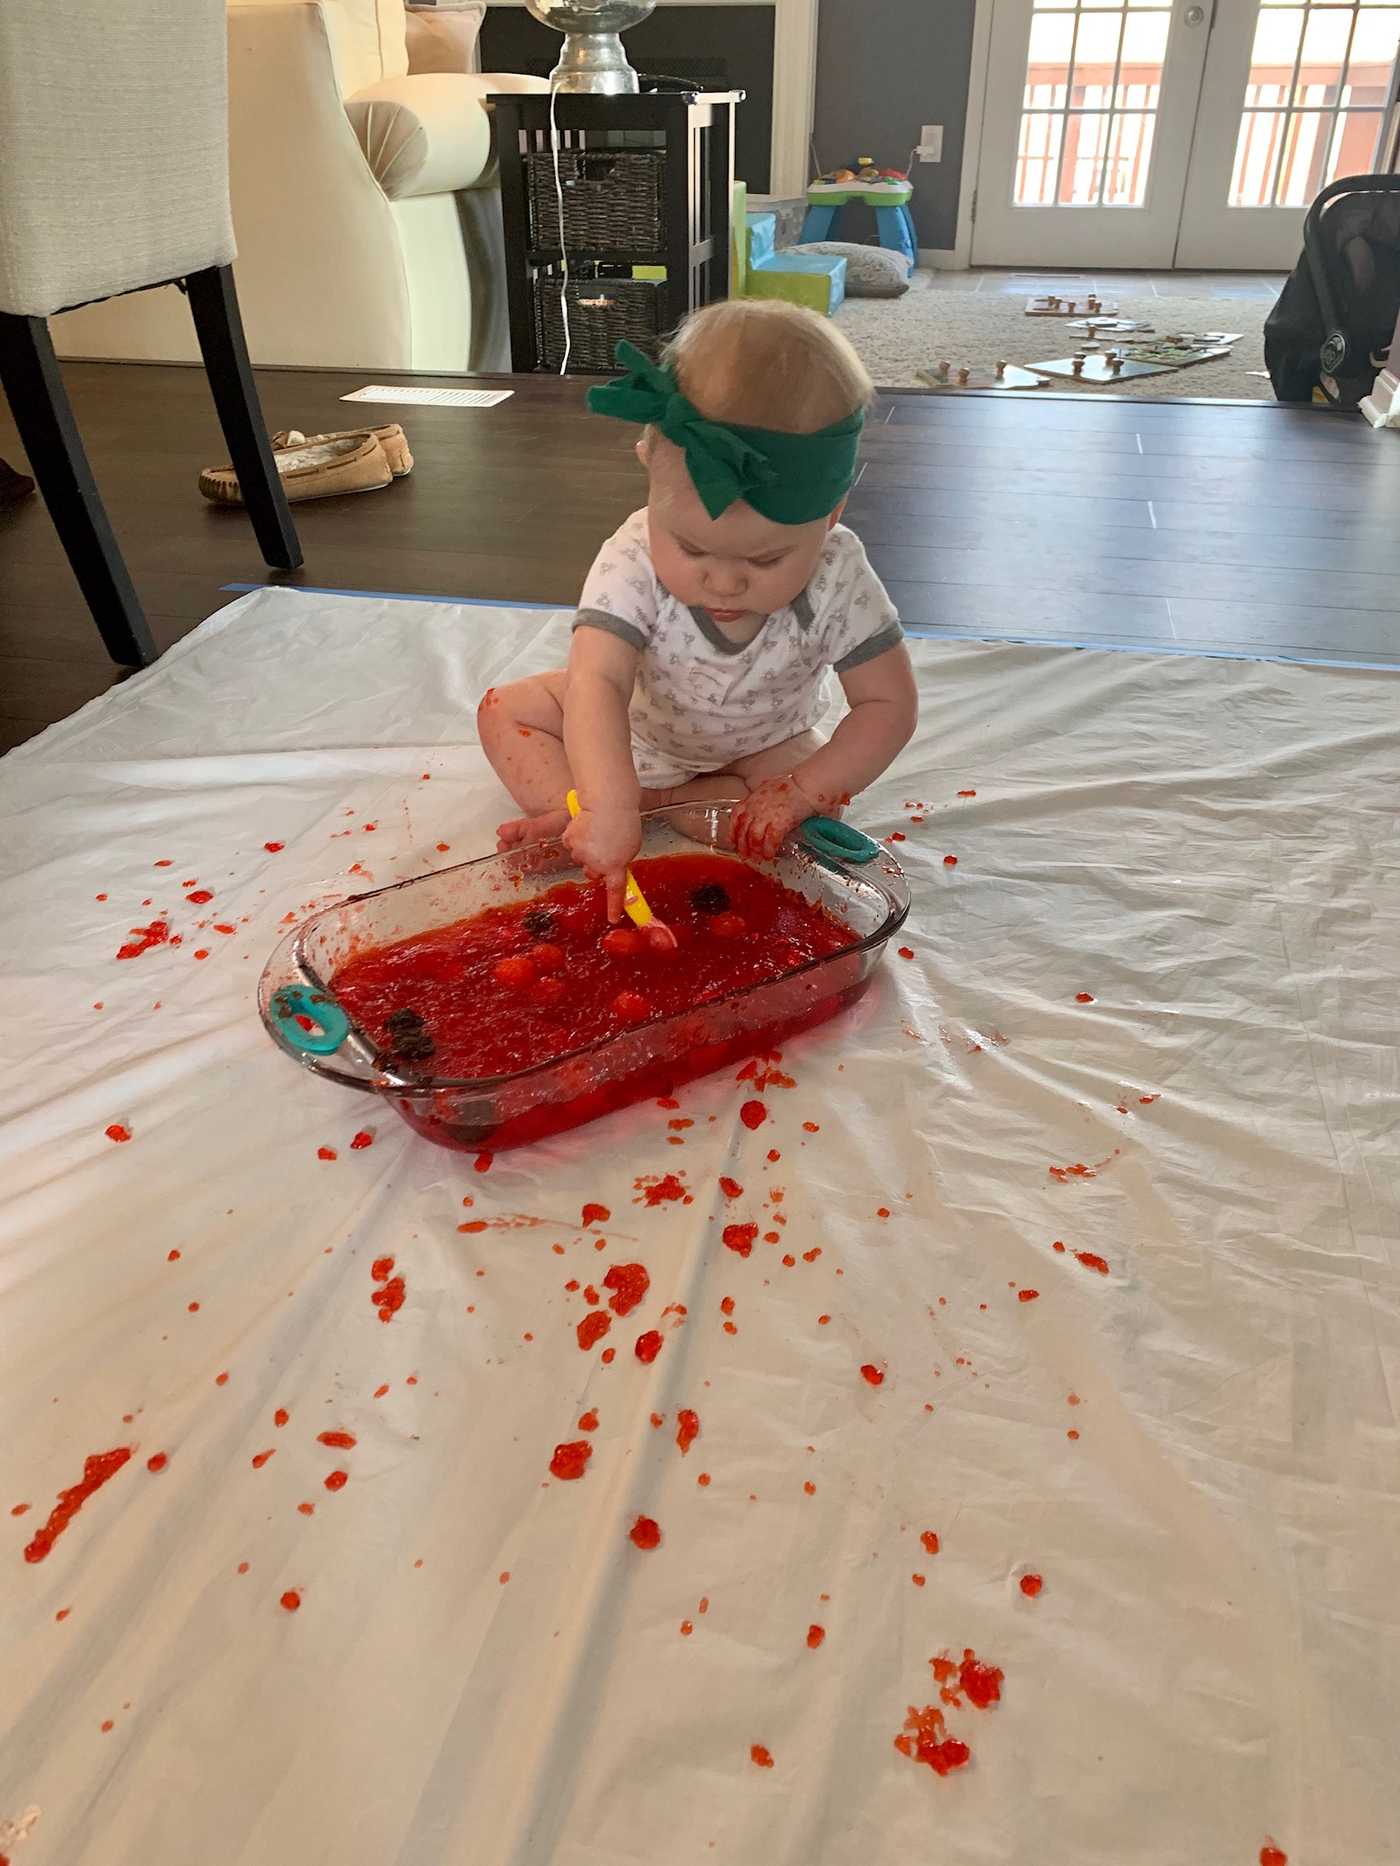
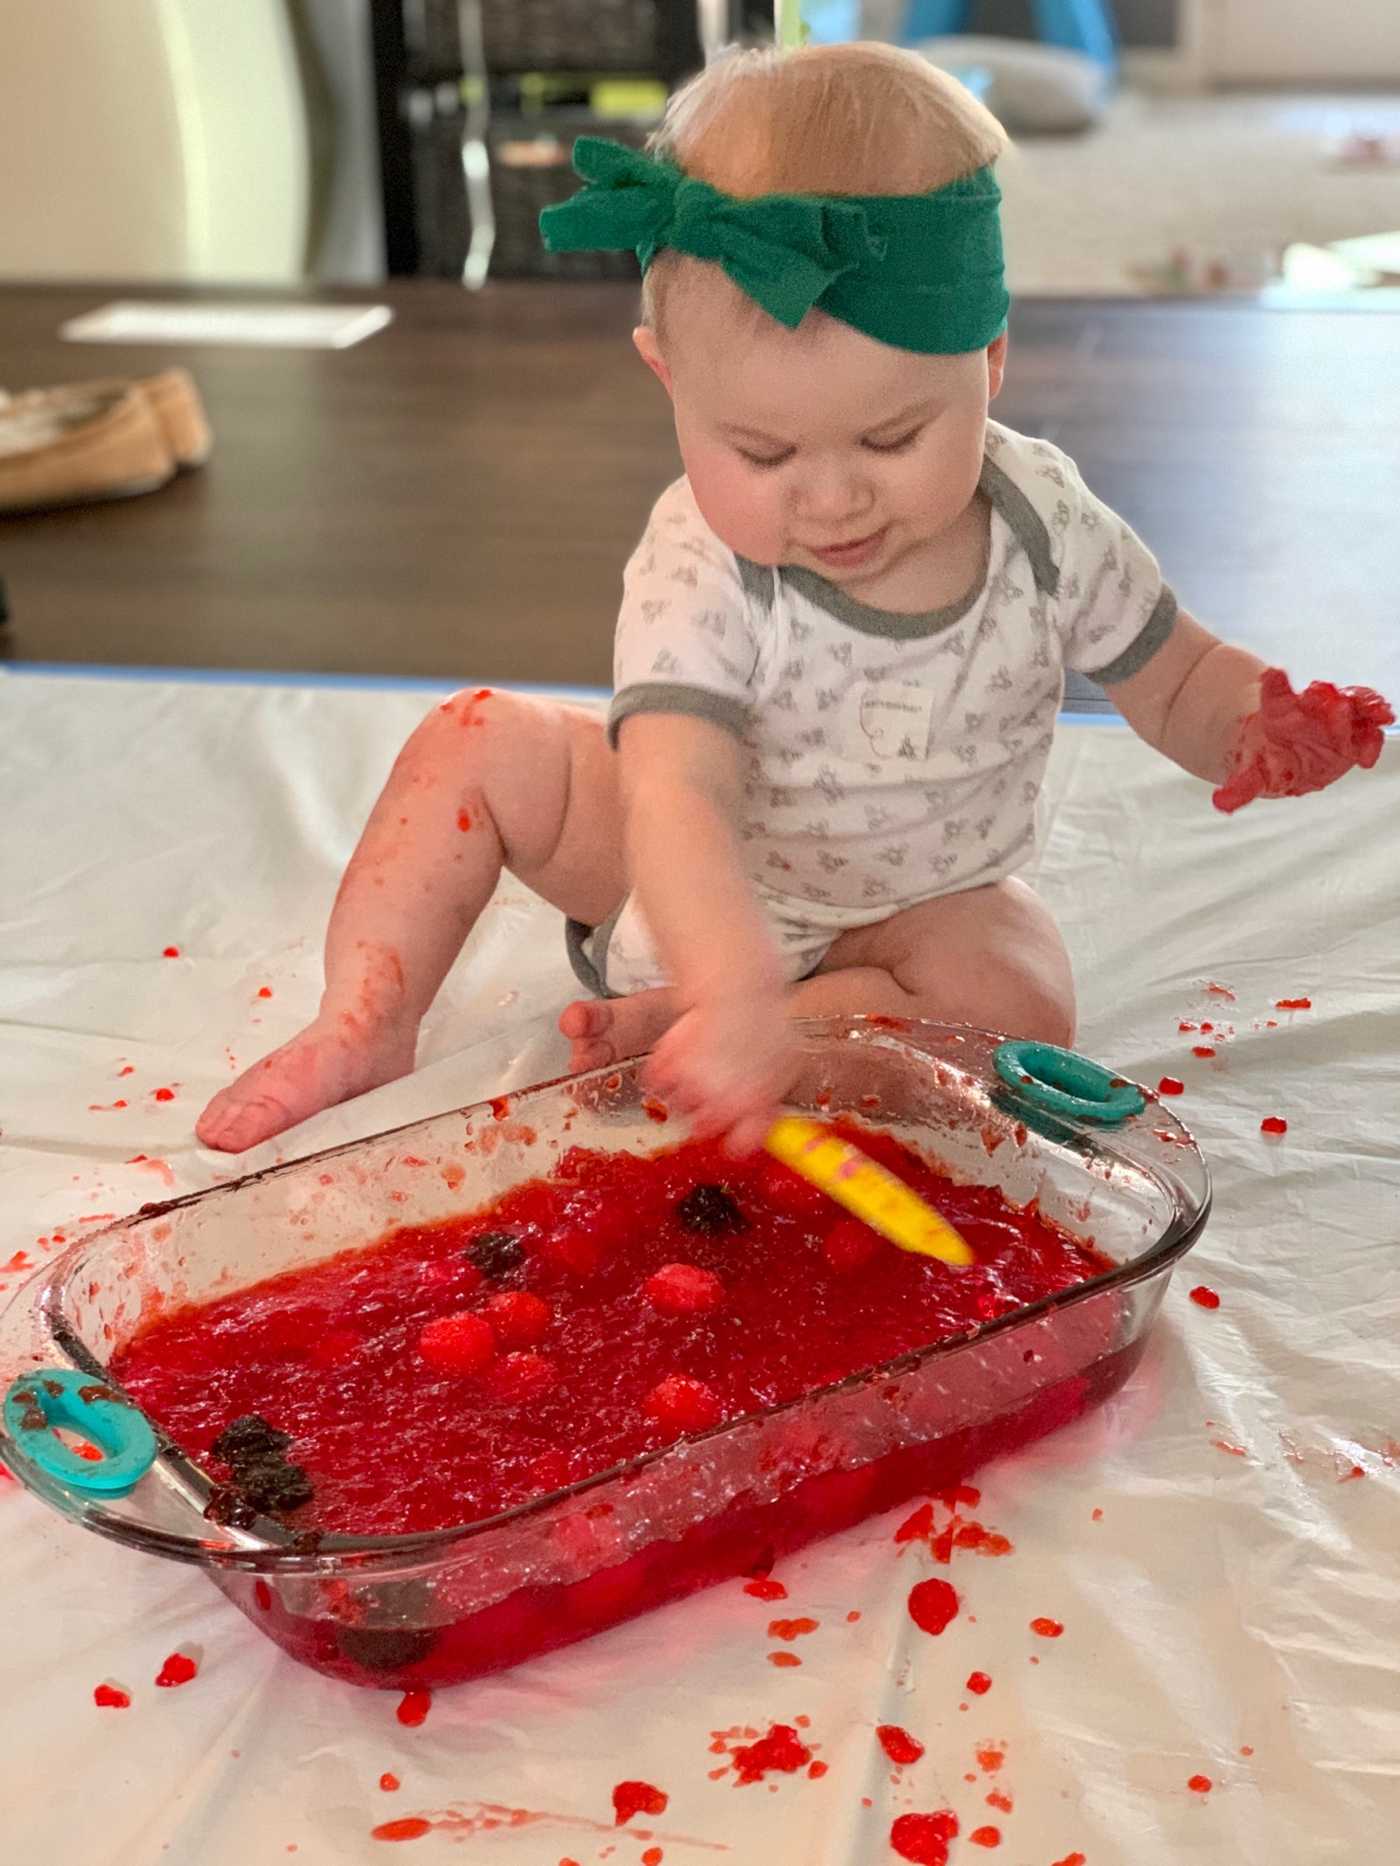
This activity was definitely a messy one, but sometimes I think those activities tend to be the most fun. Riley was enjoying playing in the gelatin a lot. I added poms (little colored fuzzy balls you can find at any arts and crafts store) to the gelatin to entice her and give her something to work for, but she didn’t actually care about the poms as much as she just wanted to stick her hands in the gelatin and play with it. Whenever we do sensory trays, Riley loves to take the material out of the tray. It is usually her first mission—free as much of it as possible. Near the end of the activity, Riley became more interested in freeing the poms which is understandable. Since the gelatin was a new substance to her, she needed time to explore this new thing first. Riley loved this activity and was very engaged the whole time. Since the gelatin was in the fridge prior to the activity it was cold and that had daddy worried. Riley didn’t mind the temperature in the slightest though. She happily played with the gelatin tray for a good 20 to 30 minutes.
The set up
I recommend using a heavy dish to put the gelatin in. I used a 9x13 Pyrex dish, sugar free Raspberry Jell-O, and poms. I set up the gelatin tray the night before. I followed the directions on the back of the Jell-O box to create the gelatin. I poured the liquid gelatin mixture into the Pyrex tray and mixed poms into it. I chilled the gelatin tray in the fridge overnight.
When I brought the tray out for the activity, I did let it sit out for about 15 minutes because it was quite cold. I laid down a plastic table cloth and I would recommend using painters’ tape to tape it to the ground. Often when Riley plays on the plastic table cloth, she moves it around and pulls it up which spreads the mess. I gave Riley a baby spoon to use as she interacted with the gelatin. I thought she might use it to help her dig out the poms. She preferred to use it to scoop and fling the gelatin. (Like I said this was a messy activity. Definitely worth it though!)
Note: There was some staining to Riley’s skin from the gelatin. After a few washes and baths, all the red staining on the skin was gone. I immediately washed Riley’s onesie that she was wearing. I first sprayed some stain remover and threw it in the wash with a load of her other clothes. All the stains to the clothes came out right away. If you wish to avoid the staining to the skin, I would recommend trying unflavored gelatin and food coloring instead.
Age Range Modifications
For younger babies, you can turn this into a tummy time, supported sitter, or high chair activity by putting the gelatin into a plastic bag. Seal the bag by taping or gluing the open shut. To ensure there aren’t any leaks, you can also double bag the gelatin sensory bag.
For older babies and toddlers, you can put small toys or items into the gelatin before it sets for them to dig out. You can set the scene where they are paleontologists and this is their dig site. See what they can unearth!
Benefits
- Gross Motor Skills: sensory activities encourage baby to work on their coordination and over all body strength as they move, interact, stabilize, and hold themselves up during play
- Fine Motor Skills: sensory play exercises hand and finger muscles by encouraging baby to reach, grasp, hold, and manipulate the materials.
- Cognitive Skills: during sensory play, there are many neural pathways being formed as more senses are involved
- Language Development: since all these activities are closely monitored, take the time to narrate what is happening, what baby is feeling, and experiencing. This expands baby’s vocabulary, gives baby context, and lets baby know that this is fun and safe.
Enjoy!


